Almost every frontend developer claims that they know CSS (and at least one of the preprocessors) quite well. Also, almost every frontend developer prefers to code in Javascript rather than styling the components and trying to be pixel-perfect according to the designs. No matter whether you like styling and you think you're good at it or not, you can always be better.
This is why today, instead of exploring advanced Javascript’s logic, Typescript’s shadows, and new versions of Angular, we want to get back to basics and share with you some useful tricks in CSS that can help you improve and speed up your daily work with styling text content.
Selectors
There are a lot of available selectors in CSS that can specify the exact element you want to style. We chose a few to show you their power - and inspire you to discover more.
> in the selector selects the direct child of the element. It’s very useful for example when you want to change the styles of paragraphs in a particular section.
The below code will change styles of paragraphs only if they’re direct children of the .sidebar container.
.sidebar > p
+ in the selector selects only the adjacent sibling of the first element. The below code will change styles of the paragraph which is placed directly after the .sidebar container, but not inside of it.
.sidebar+p
You can also use + with * sign and easily select all paragraphs on your website.
*+p
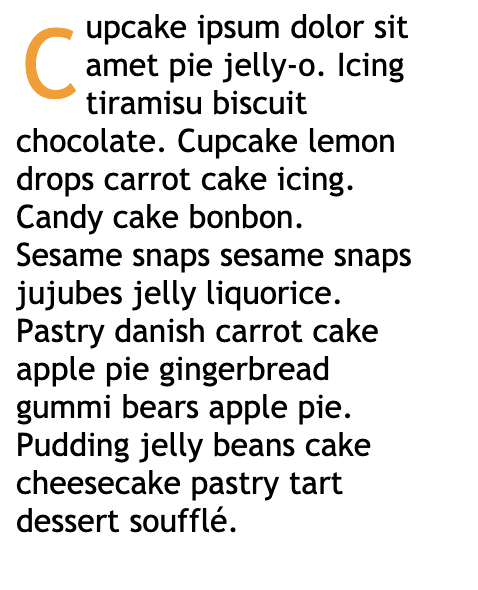
:first-letter added to a selector will change the style of the first letter only and make a drop cap.
p:first-letter {
color: #07072d;
display: block;
font-size: 3em;
float: left;
margin: 0 3px;
}
In the most common cases :nth-child() is used by developers with static value (:nth-child(2)) to select the exact child of the element. But did you know that you can use this selector also with an expression? For instance, if you have a leaderboard and want to change the font color of the top three you can simply select them by:
:nth-child(-n + 3)

Counters
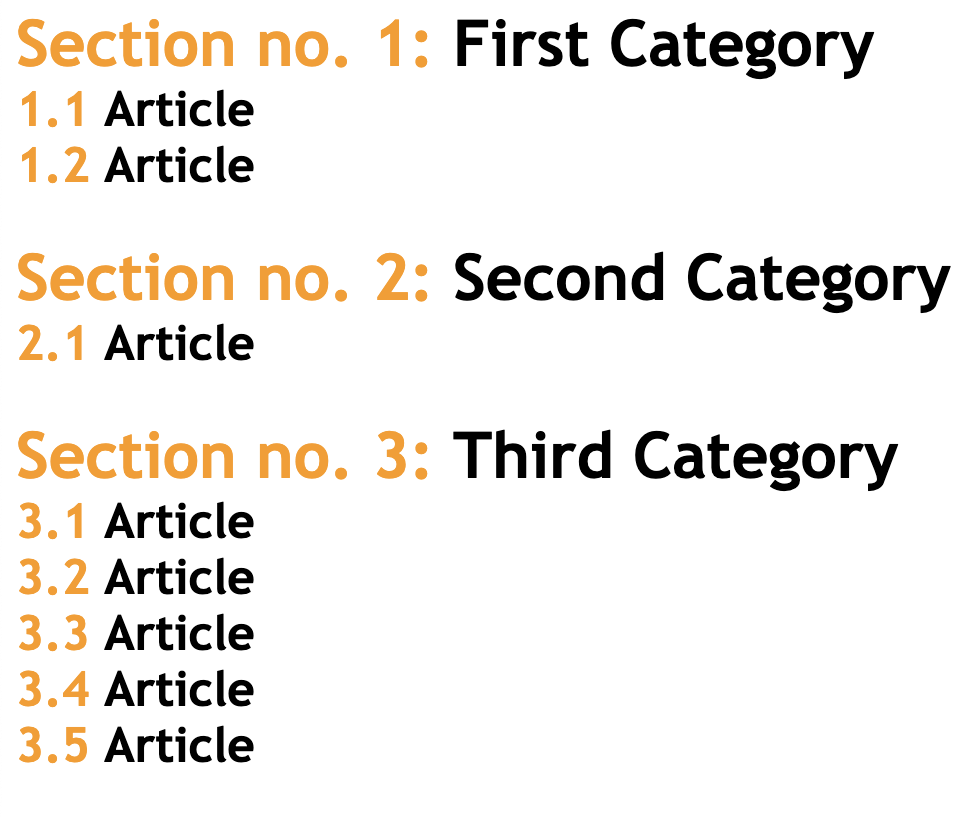
Counters in CSS allow you to automatically number the elements on the website based on how many times they’re used. There are a few simple rules you should know before starting using counters:
→ Counters should be initialized by counter-reset property (0 by default):
counter-reset: section;
→ You have to specify the value of the element which should increment the counter:
counter-increment: section;
→ You have to set the counters’ content:
content: "Section no. " counter(section) ": ";
→ To combine counters in nested lists use counters() method and join counters into one value:
content: counter(section) "." counter(article) " ";
Here’s the result - all the characters in orange are made with CSS only:
Shape-outside
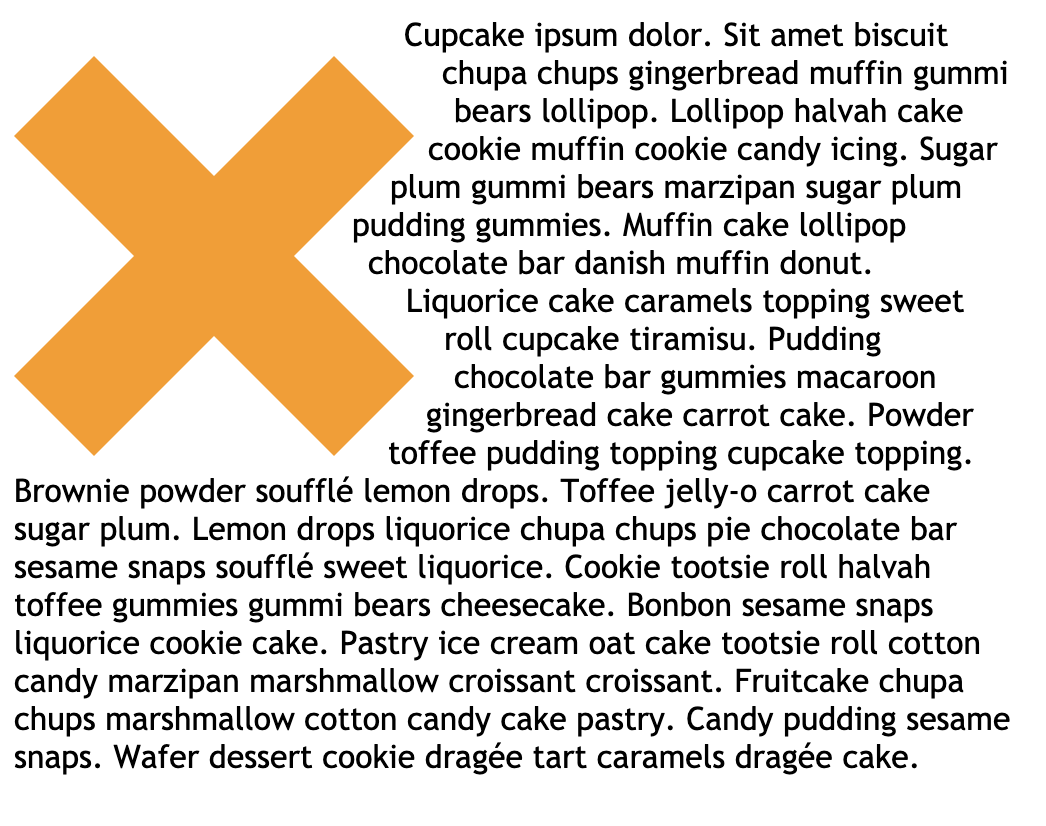
A wall of text looks boring and you want to add some pictures to your article without interrupting users’ reading? The shape-outside property will be helpful in blending the content together.
shape-outside: inset(70px 0px 60px 0px);

At first look, it doesn’t look very special but imagine you can mix it with clip-path property and adjust text and indentations to every shape you can think of - isn’t it cool?
shape-outside: polygon(20% 0%, 0% 20%, 30% 50%, 0% 80%, 20% 100%, 50% 70%, 80% 100%, 100% 80%, 70% 50%, 100% 20%, 80% 0%, 50% 30%);
clip-path: polygon(20% 0%, 0% 20%, 30% 50%, 0% 80%, 20% 100%, 50% 70%, 80% 100%, 100% 80%, 70% 50%, 100% 20%, 80% 0%, 50% 30%);
Line-clamp
Small wrapper and a lot of text? To avoid breaking the layout you need to cut the text and make it fit the size of the container. You can do it simply by
overflow: hidden;
text-overflow: ellipsis;
white-space: nowrap;
and change this:
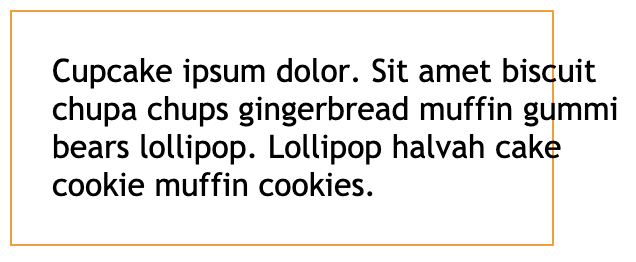
into this:

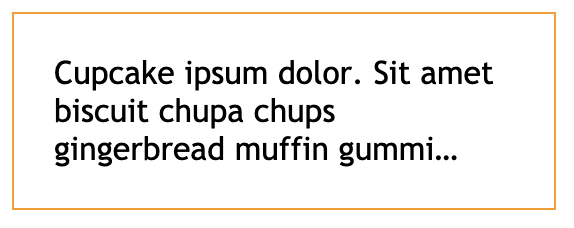
Nice, but we clipped a lot of content and now it’s almost unreadable for the user. If you want to cut the text, e.g. after the 3rd line, it’ll be a little challenging to do it this way. Of course, you can do it once and reuse the code every time you need, but you can also just use the line-clamp property and effortlessly achieve this:
-webkit-line-clamp: 3;
-webkit-box-orient: vertical;
display: -webkit-box;
overflow: hidden;
::selection
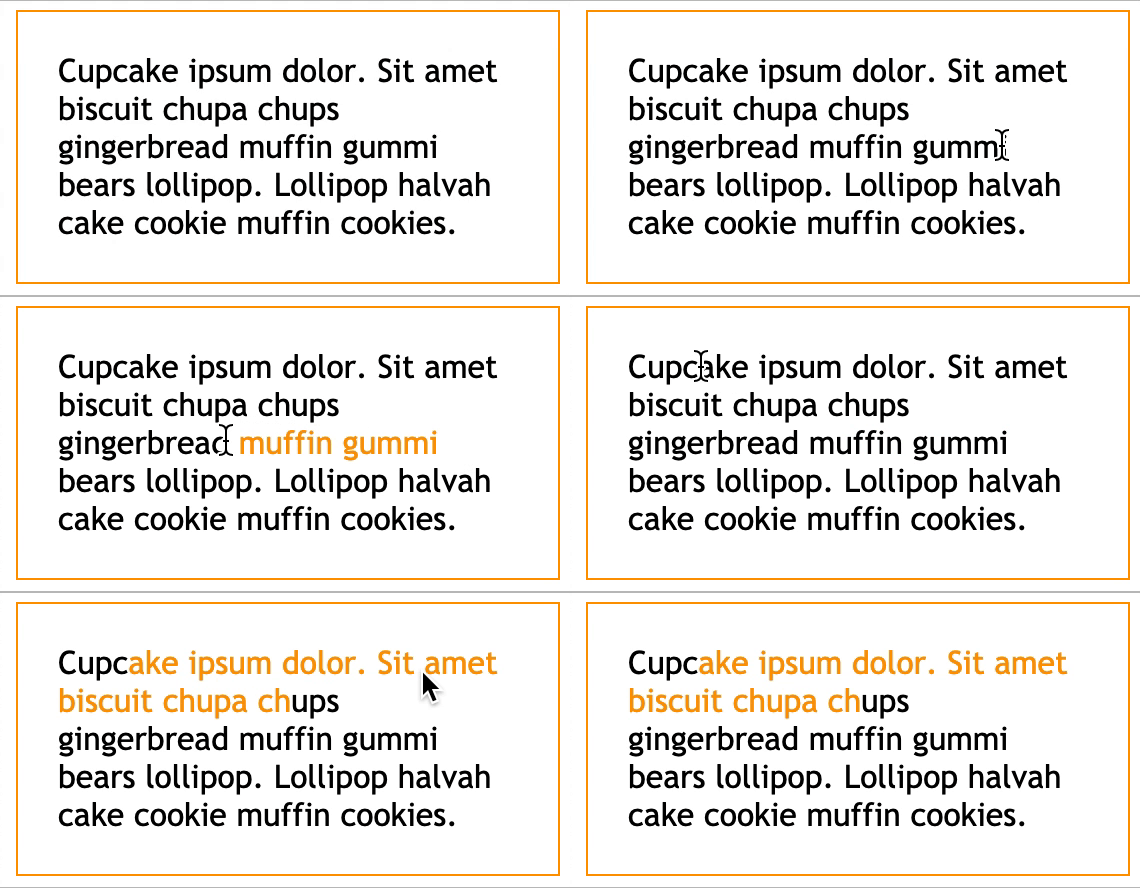
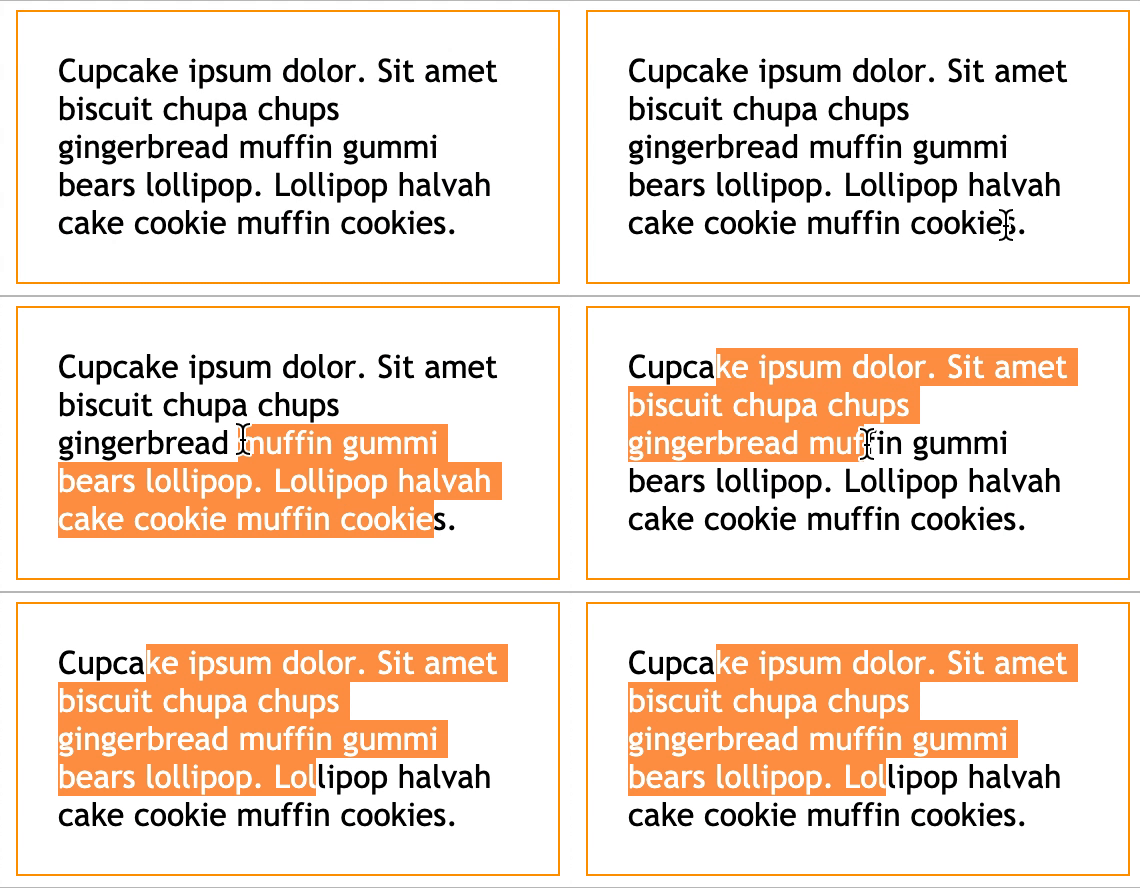
Do you know that you can change the styles of the text highlighted by the user? Using pseudo-class ::selection you can change styles to whatever you want and make your website more customized, consistent - and simply cool!
Hope you enjoyed these CSS tips and tricks! We encourage you to try them out and see for yourself how they can make your work easier and more enjoyable. Let us know if you have any questions or want to share your thoughts!
Happy styling 🎨
You may be also interested in:
➤ How to optimize an Angular app. 13 tips for front-end developers
➤ 8 useful Chrome extensions for front-end developers
➤ Automating repetitive actions with Selenium WebDriver and Node.js
About the Author
Weronika Szymańska is a front-end developer at Angry Nerds – which means her job is to reconcile our designers’ unlimited imagination with equally unrestrained ideas of back-end devs. And she’s great at it! She has strong experience in JavaScript and Angular development and loves to share tips and tricks she uses in her daily work. When she's not coding, she can be found hiking in the mountains or reading crime stories.


 Angry Nerds (Poland)
 Angry Nerds (USA)
 Angry Nerds (Canada)


